musicLineの記念動画(コンテスト)のデザインを紹介。
重ねているエフェクトを観察し、内部の実装をちょこっと紹介します。


はじめに
musicLineコミュニティでは投稿された曲(MIDI)を再生する時に、視覚的にわかりやすくなるように音符に合わせて可視化した映像が流れます。
その映像が、コンテスト等で上位に上がった曲はキラキラしたリッチな表現の映像になります。
詳しくはこちら
今回はその映像をどのようにして作成しているのかについて観察し、内部実装(GLSLのコーディング)について軽く触れます。
デザインの観察
コンテストの記念動画は各部門で1~8位まであります。
各々のバリエーションを比較して、記念動画の要素を分解することでデザインを観察します。
バリエーションの比較
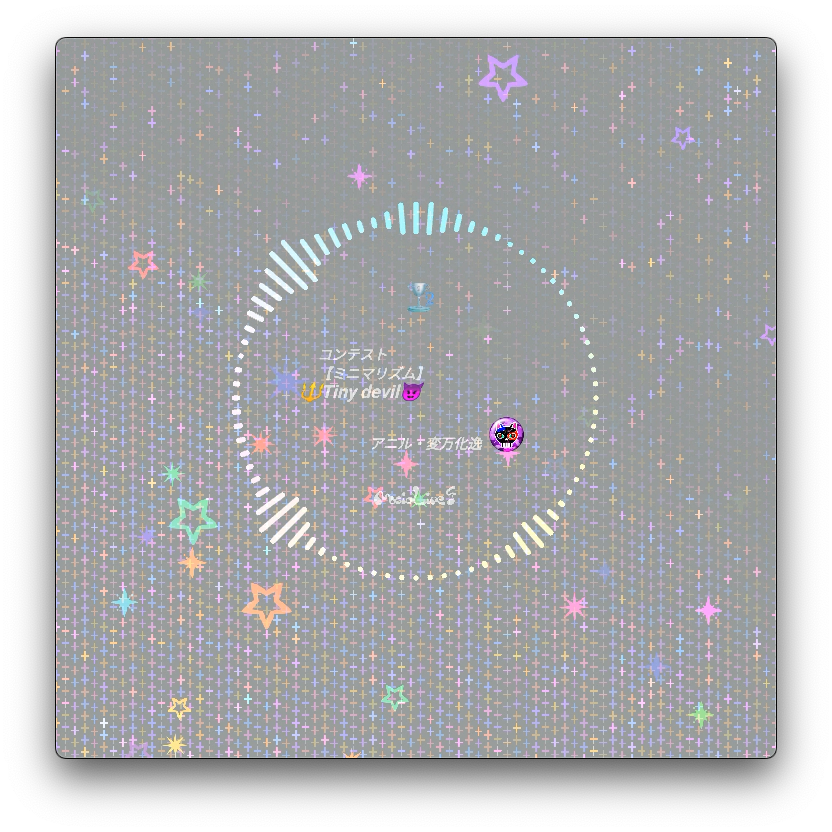
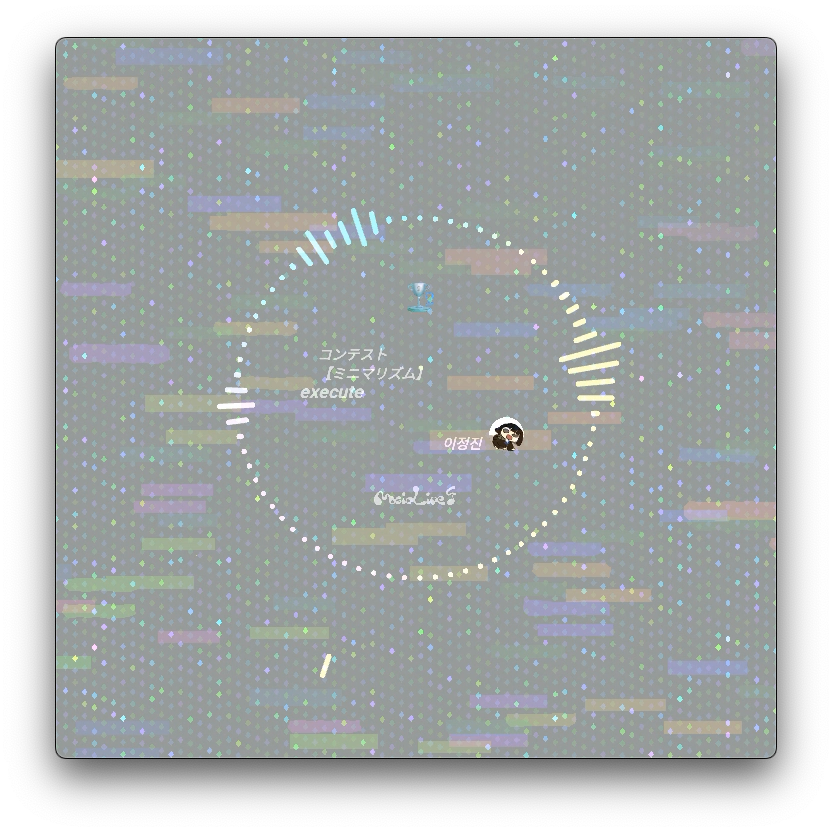
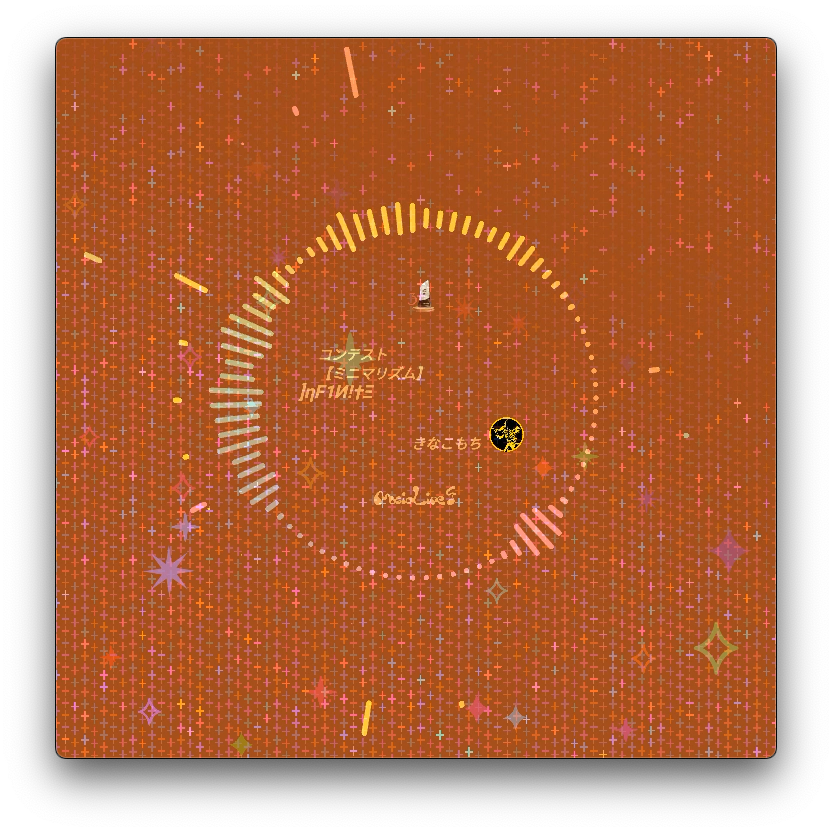
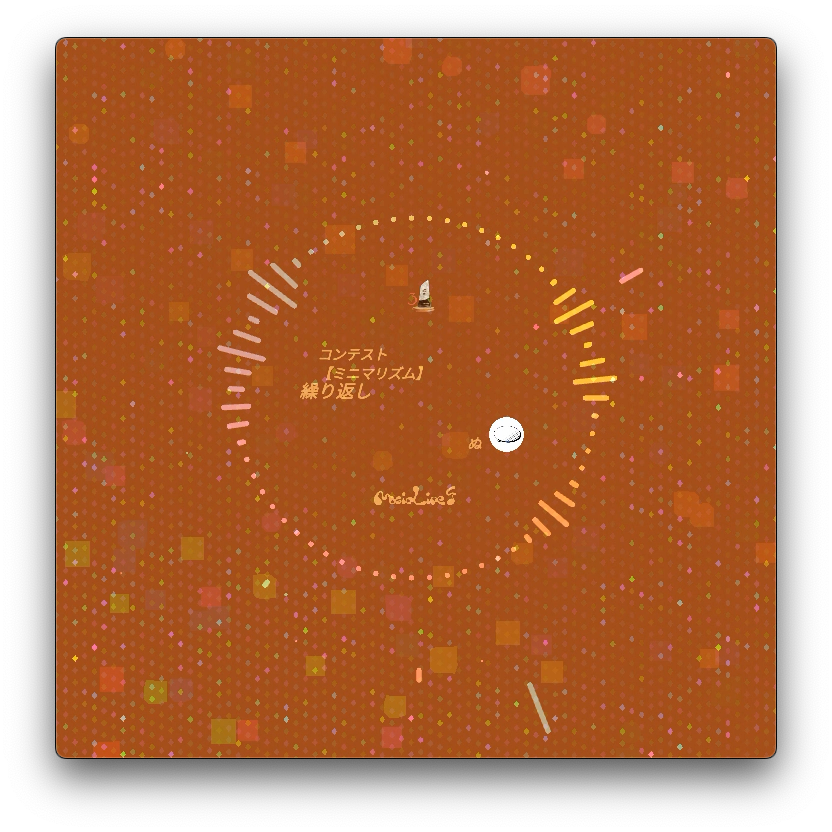
一般部門とビギナー部門の1~4位の記念動画を比較します。
| 一般部門 | ビギナー部門 |
 |
 |
 |
 |
 |
 |
 |
 |
各々の記念動画を比較すると
- 順位ごとにテーマカラーがある
- 一般部門とビギナー部門でテクスチャが異なる
- 3位以上はより華やなエフェクト
等の違いがあります。
以下に紹介させて頂いた曲のアプリリンクを載せています。
気になった曲はmusicLineで聴いてください ♪
| 一般部門 | ビギナー部門 |
|---|---|
| 一般部門 | ビギナー部門 |
要素の分解
この記念動画を分解すると、4つの要素(レイヤー)で構成されています。
| 名前 | イメージ |
|---|---|
| エフェクト | 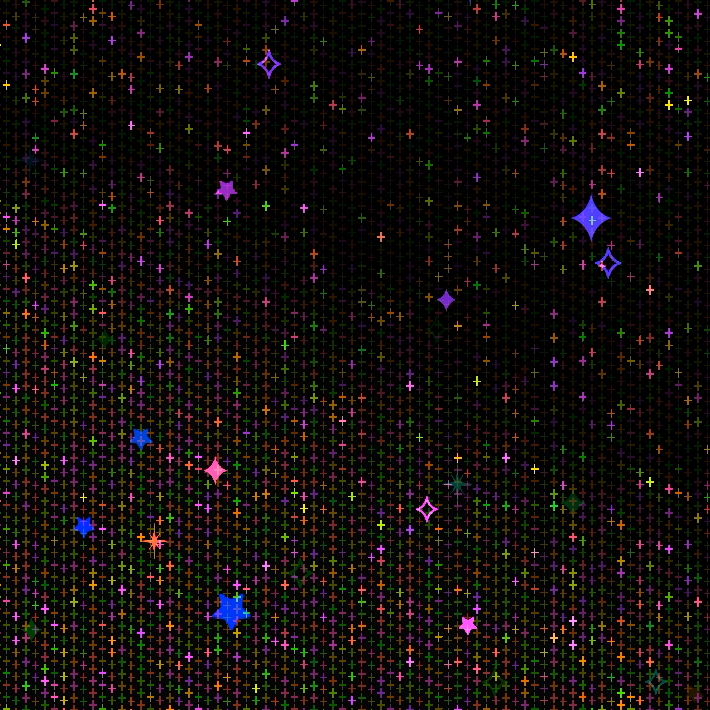 |
| 情報 | 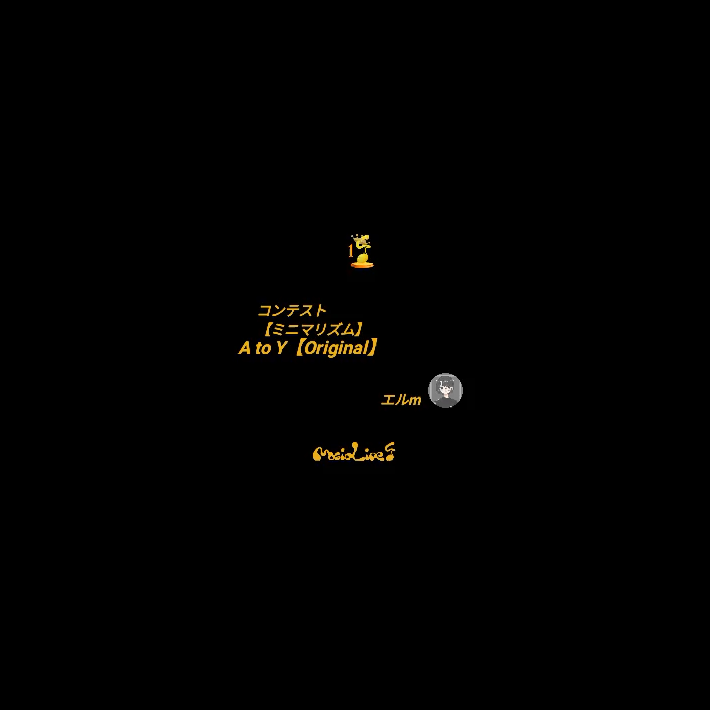 |
| コンテンツ | 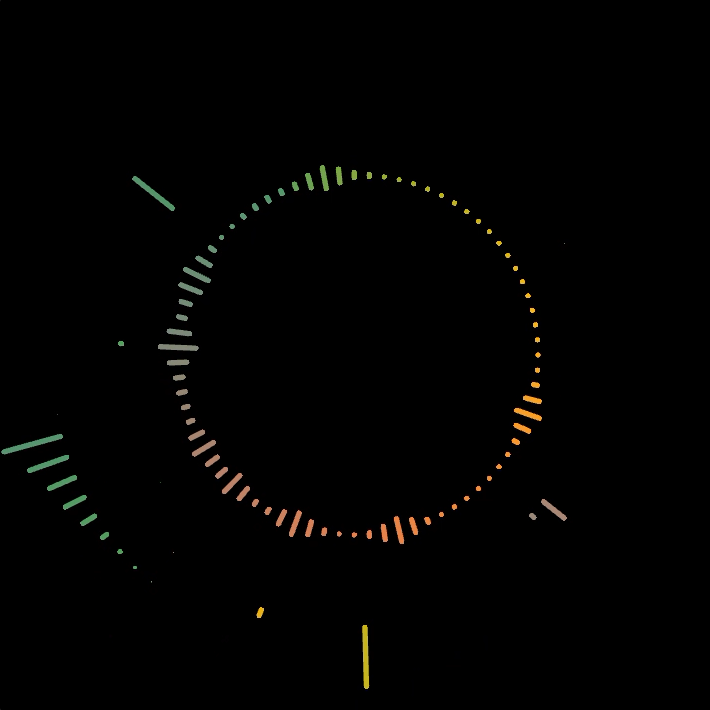 |
| 背景 |  |
この内、エフェクトと背景を変えることで記念動画のバリエーションを出しています。
エフェクトの実装
今回はコンテスト記念動画を単純化したキラキラエフェクトの実装を紹介します。AndroidはOpenGLESが動作するため、実装はGLSLを使いました。
なお、サンプルはWebでGLSLを実行できるエディタ** The Book of Shaders Editor **で表示して確認しました。
エフェクトの構成要素
キラキラエフェクトはタイル状に十字のパターンを敷き詰め、アニメーションするカラーとアルファをブレンドすることで実現しています。
| 構成要素 | イメージ |
|---|---|
| パターン | 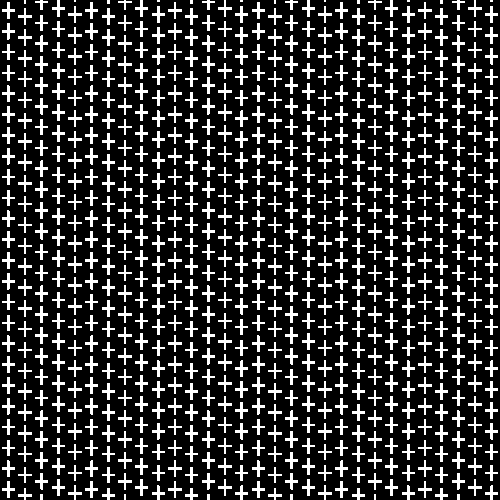 |
| カラー |  |
| アルファ |  |
パターンの作成
ST座標

precision mediump float;
uniform vec2 u_resolution;

void main() {
    vec2 st = gl_FragCoord.xy/u_resolution.xy; // 正規化
    gl_FragColor = vec4(st, 0., 1.);
}
左下原点(0, 0)でサイズ 1 の基準となるST座標空間へ変換します。
このサンプルでは座標を可視化するため、gl_FragColorの赤と緑の値にXとYの値を渡して色を表示しています。なので、値が大きくなる程色がつきます。例えば、座標(1, 1)はRGB(1, 1, 0)となり黄色になります。
タイル座標

...
float repeat_count = 30.; // 繰り返し回数
float aspect = .8; // 縦横比
vec2 scaled_st = repeat_count * vec2(1., aspect) * st; // スケーリング
vec2 difference_st = scaled_st  + vec2(0, .3) * mod(floor(scaled_st).x, 5. ); // ずらす
vec2 tile =  fract(difference_st); // 0 ~ 1 の間を繰り返す
gl_FragColor = vec4(tile, 0., 1.);
キラキラエフェクトは同じ形が繰り返し描画されるパターンなので、座標をタイル状に分割します。タイルはY軸方向に少しずらすことで単調さを軽減しています。
十字パターン
vec2 tile_center = abs(tile - .5); // 端 0.5 中心 0.
float tile_dist = step(.6, 1. - length(tile_center)) * min(1., step(.42, .5 - tile_center.x) + step(.42, .5 - tile_center.y / aspect));
float  cross =  step(1., tile_dist);
gl_FragColor = vec4(vec3(cross), 1.);
タイルの中心が(0, 0)になるように-0.5します。そして、中心からの距離を使ってなんやかんやで十字を描画します。
(菱形パターン)

vec2 tile_center = abs(tile - .5);    // 端 0.5 中心 0.
float tile_dist = 1. - step(.3, tile_center.x + tile_center.y);
float diamond =  step(1., tile_dist);
gl_FragColor = vec4(vec3(diamond), 1.);
少し処理を変えると菱形になります。
カラーの作成
vec2 tile_pos = floor(difference_st);
vec3 shift = vec3(200.0 * (random(tile_pos * 2.) + u_time * 0.2), 1.0, 1.0);
vec3 random_col = shift_col(vec3(1.0, 0.3, 0.3), shift);
gl_FragColor = vec4(random_col, 1.);
tile_posでタイル毎に色をランダムに決定します。u_timeで時間により色が変化します。
randomとshift_colは自作の関数です。
vec3 shift_col(vec3 RGB, vec3 shift) {
    vec3 RESULT = vec3(RGB);
    highp float VSU = shift.z * shift.y * cos(shift.x * 3.14159265 / 180.0);
    highp float VSW = shift.z * shift.y * sin(shift.x * 3.14159265 / 180.0);

    RESULT.x = (.299 * shift.z + .701 * VSU + .168 * VSW) * RGB.x
        + (.587 * shift.z - .587 * VSU + .330 * VSW) * RGB.y
        + (.114 * shift.z - .114 * VSU - .497 * VSW) * RGB.z;

    RESULT.y = (.299 * shift.z - .299 * VSU - .328 * VSW) * RGB.x
        + (.587 * shift.z + .413 * VSU + .035 * VSW) * RGB.y
        + (.114 * shift.z - .114 * VSU + .292 * VSW) * RGB.z;

    RESULT.z = (.299 * shift.z - .3 * VSU + 1.25 * VSW) * RGB.x
        + (.587 * shift.z - .588 * VSU - 1.05 * VSW) * RGB.y
        + (.114 * shift.z + .886 * VSU - .203 * VSW) * RGB.z;

    return (RESULT);
}

highp float random(highp vec2 st){
    return fract(sin(dot(st.xy ,vec2(12.9898,78.233))) * 43758.5453);
}
GLSLにはランダムに数字を取得する標準関数がないので自作します。こちらもなんやかんやで乱数と色を取得できます。
なおshift_colは色とシフト値を指定しますが、シフト値は(色相、彩度、明度)となっています。色相は360で一周し、彩度と明度は倍率となっています。
アルファの作成
float cycle_time = 5.; // 光る周期時間
float on_rat = .6; // 全体に対して光る割合
float PI = 3.14159265359;
highp float animation_offset = random(tile_pos); // アニメーションの開始オフセット
float alpha = sin((animation(on_rat, cycle_time, u_time, animation_offset) - 0.25) * PI * 2.) * .5 + .5;
gl_FragColor = vec4(vec3(alpha), 1.);
sinを使うことでアニメーションにイーズインアウト効果をつけてループ再生します。animation_offsetを乱数にすることで、タイル毎にバラバラに光るようにしています。
animationは自作の関数です。
 highp float animation(highp float animation_ratio, highp float cycle_time, highp float time, highp float offset){
     highp float start_time = offset; // 0. ~ 1.
     highp float end_time = start_time + animation_ratio;
     highp float pos_in_cycle = mod(time, cycle_time) / cycle_time; // 0. -> 1.
     highp float pos1 = smoothstep(start_time, end_time, pos_in_cycle);
     highp float pos2 = smoothstep(start_time, end_time, pos_in_cycle + 1.); // 境界用
     return max(fract(pos1), fract(pos2));
 }
アニメーションの開始時間start_timeと終了時間end_timeは0~1+(a)に正規化しています。時間timeと光る周期時間cycle_timeにより、pos_in_cycleサイクル中の進行位置を出しています。アニメーション開始時間がサイクル終了よりの場合、end_timeが1以上になりアニメーションがサイクルを跨ぐ場合があります。そのパターンを考慮して、アニメーション進行位置をpos1とpos2の2つを使います。
全コードを表示
#ifdef GL_ES
precision mediump float;
#endif

uniform vec2 u_resolution;
uniform float u_time;

// 乱数を取得する。
highp float random(highp vec2 st){
    return fract(sin(dot(st.xy ,vec2(12.9898,78.233))) * 43758.5453);
}

// shiftにより、色をずらす。
vec3 shift_col(vec3 RGB, vec3 shift) {
    vec3 RESULT = vec3(RGB);
    highp float VSU = shift.z * shift.y * cos(shift.x * 3.14159265 / 180.0);
    highp float VSW = shift.z * shift.y * sin(shift.x * 3.14159265 / 180.0);

    RESULT.x = (.299 * shift.z + .701 * VSU + .168 * VSW) * RGB.x
        + (.587 * shift.z - .587 * VSU + .330 * VSW) * RGB.y
        + (.114 * shift.z - .114 * VSU - .497 * VSW) * RGB.z;

    RESULT.y = (.299 * shift.z - .299 * VSU - .328 * VSW) * RGB.x
        + (.587 * shift.z + .413 * VSU + .035 * VSW) * RGB.y
        + (.114 * shift.z - .114 * VSU + .292 * VSW) * RGB.z;

    RESULT.z = (.299 * shift.z - .3 * VSU + 1.25 * VSW) * RGB.x
        + (.587 * shift.z - .588 * VSU - 1.05 * VSW) * RGB.y
        + (.114 * shift.z + .886 * VSU - .203 * VSW) * RGB.z;

    return (RESULT);
}

 // timeにより、0 ~ 1 の間を繰り返す。
 highp float animation(highp float animation_ratio, highp float cycle_time, highp float time, highp float offset){
     highp float start_time = offset;
     highp float endTime = start_time + animation_ratio;
     highp float time_in_cycle = mod(time, cycle_time) / cycle_time; // 0. ~ 1.
     highp float pos1 = smoothstep(start_time, endTime, time_in_cycle ); // 1-> 0
     highp float pos2 = smoothstep(start_time, endTime, time_in_cycle + 1.); // 1 -> 0 (境界用)
     return max(fract(pos1), fract(pos2));
 }

void main() {
    // ST座標
    vec2 st = gl_FragCoord.xy / u_resolution.xy; // 正規化


    // タイル座標
    float repeat_count = 30.; // 繰り返し回数
    float aspect = .8; // 縦横比
    vec2 scaled_st = repeat_count * vec2(1., aspect) * st; // スケーリング
    vec2 difference_st = scaled_st  + vec2(0, .3) * mod(floor(scaled_st).x, 5. ); // ずらす
    vec2 tile_pos = floor(difference_st);


    // 十字パターン
    vec2 tile =  fract(difference_st); // 0 ~ 1 の間を繰り返す
    vec2 tile_center = abs(tile - .5); // 端 0.5 中心 0.
    float tile_dist = step(.6, 1. - length(tile_center)) * min(1., step(.42, .5 - tile_center.x) + step(.42, .5 - tile_center.y / aspect));
    float  cross =  step(1., tile_dist);


    // カラーの作成
    vec3 shift = vec3(200.0 * (random(tile_pos * 2.) + u_time * 0.2), 1.0, 1.0);
    vec3 random_col = shift_col(vec3(1.0, 0.3, 0.3), shift);


    // アルファの作成
    float cycle_time = 5.; // 光る周期時間
    float on_rat = .6; // 全体に対して光る割合
    float PI = 3.14159265359;
    highp float animation_offset = random(tile_pos); // アニメーションの開始オフセット
    float alpha = sin((animation(on_rat, cycle_time, u_time, animation_offset) - 0.25) * PI * 2.) * .5 + .5;

    gl_FragColor = vec4(random_col * alpha * cross, 1.);
}
おわりに
今回はmusicLineの記念動画(コンテスト)のデザインを紹介しました。 どのようにエフェクトが構成されているか分かったのではないでしょうか?
内部実装を紹介してたら、気分が乗って予想以上に説明してしまった。
ちょこっと紹介のはずががっつり紹介になった。プログラムの知識がないと意味不明だと思うので飛ばし飛ばし見てもらえたらと思います〜(´ε` )
でもShaderはコーディングでリアルタイムで見た目が変わるので面白いです。プログラムに興味があったらまずShaderを触るのがおすすめ。
Webで手軽にできるし〜
あと、Shaderの実装はこの辺りのサンプルを参考にしました。
Shadertoy BETA
GLSL Sandbox Gallery
複雑すぎて何書いてるか解読するのが大変でしたが。。
次はランキングの記念動画デザインについても紹介できたらと思います。

